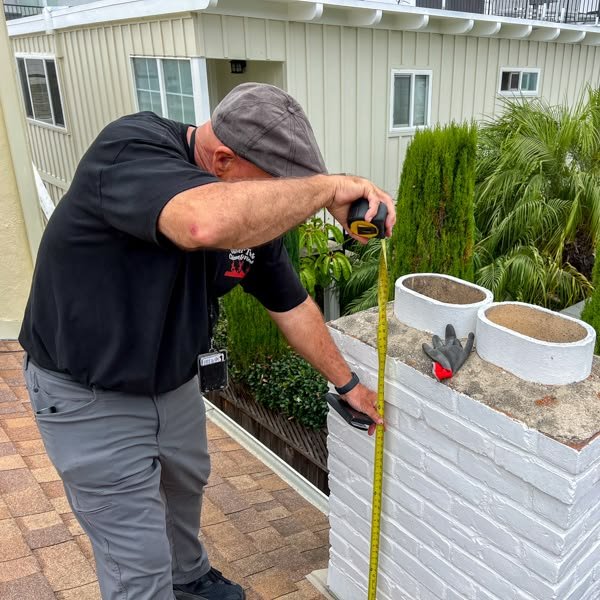
A proper DIY chimney inspection follows a few non-negotiable safety rules. The fireplace must be completely cold — no warm coals or embers — before you put your head anywhere near the firebox or flue. Every part of this inspection can and should be done from inside the house or with your feet on the ground outside; there is no reason to climb on the roof for a basic DIY chimney inspection. Gather a bright flashlight, a small inspection mirror, safety glasses, gloves, and a dust mask before you begin.
A DIY chimney inspection that stays at ground level and inside the house catches the vast majority of visible warning signs without introducing any fall risk. Reserve roof access entirely for licensed professionals with the proper equipment and training.
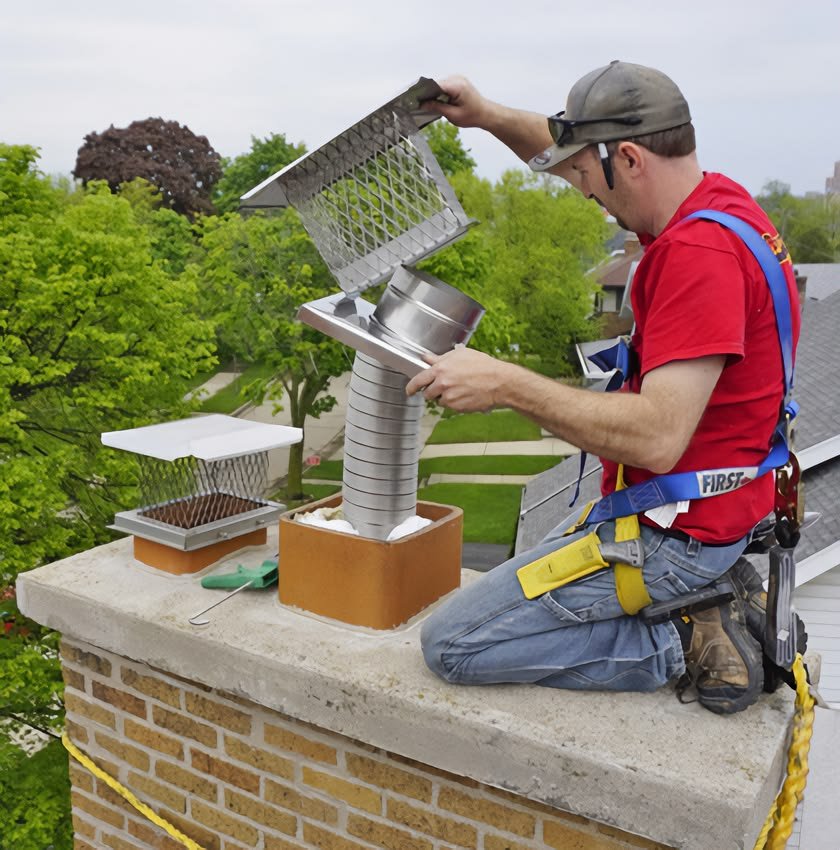
This chimney inspection checklist starts from the yard, using binoculars if you have them rather than climbing anywhere:
Following this chimney inspection checklist from the ground catches most exterior warning signs that would otherwise go unnoticed until a leak or larger repair becomes necessary.
The interior portion of this chimney inspection checklist covers the firebox, damper, and visible flue:
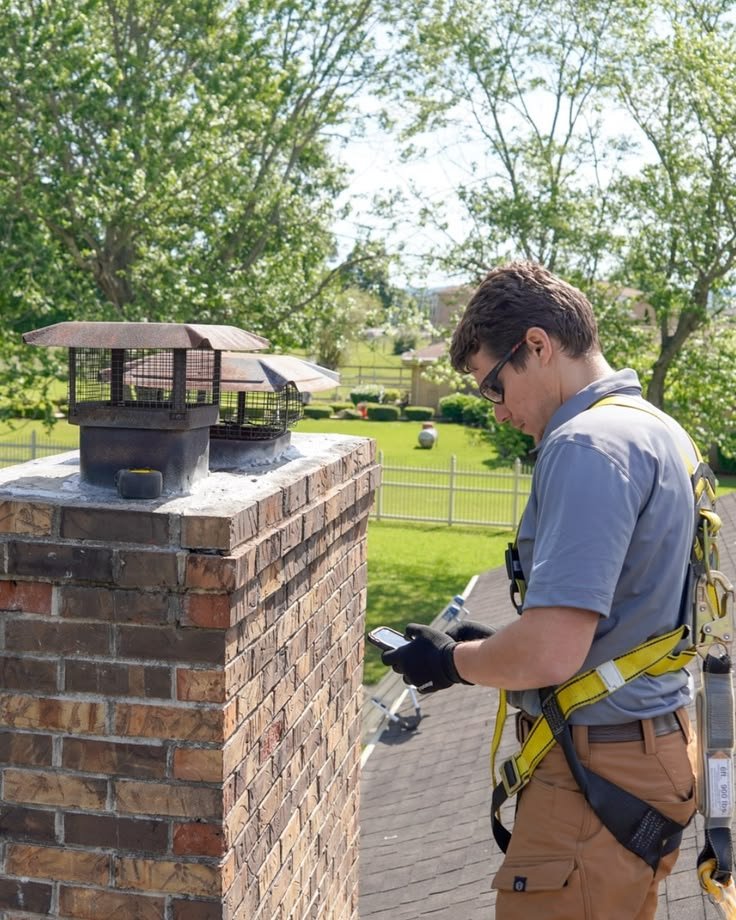
Certain signs of chimney damage are visible without any specialized tools, and catching them early is exactly what a DIY chimney inspection is designed to do:
Any of these signs of chimney damage warrants scheduling a professional inspection soon — a DIY check identifies the problem exists, but diagnosing the full extent and correct repair requires a trained eye and, often, specialized equipment.
Creosote buildup signs are among the most important things a DIY chimney inspection can catch, since creosote is highly flammable and directly responsible for most chimney fires. Shine a flashlight up the flue from the firebox opening and look for a black, tar-like coating on the interior walls. If visible creosote buildup signs show more than 1/8 inch of thickness, or if the coating appears shiny, hardened, or glazed rather than flaky, stop using the fireplace and schedule professional cleaning immediately — glazed creosote is the most dangerous form and burns hotter and longer than earlier-stage buildup.
A strong musty, barbecue-like, or sewer-like smell — especially noticeable in summer heat and humidity — is another one of the clearest creosote buildup signs, since heat and moisture activate the odor-producing compounds within the deposits.
A DIY chimney inspection isn’t complete without checking the safety equipment that protects you if something does go wrong. Test smoke detectors and carbon monoxide detectors near the fireplace and throughout the home, and replace batteries if needed. A neglected chimney is a real carbon monoxide risk — without proper draft and ventilation, dangerous gases can seep back into the living space rather than exiting through the flue, and working detectors are your early warning system if that happens.
Certain findings mean it’s time to stop the DIY chimney inspection and call a professional chimney sweep rather than continuing on your own. Extensive structural damage — significant cracking, shifting, or crumbling masonry — is beyond what a homeowner should attempt to diagnose or address independently. Thick or hardened creosote requires professional removal equipment, not a DIY brush and rod kit for anything beyond light buildup. Significant leaks, visible daylight through unexpected gaps, or a flue liner that can’t be clearly assessed from the firebox opening all call for a professional with a video inspection camera.
When to call a professional chimney sweep also includes anything involving the roofline or flashing directly — this work requires proper fall protection and specialized knowledge that a ground-level DIY inspection simply can’t substitute for. According to the Chimney Safety Institute of America, professional inspectors are trained specifically to identify hazards that aren’t visible during a basic visual check, using tools like video scanning that reach areas a flashlight and mirror cannot.
A DIY chimney inspection is roughly equivalent to what professionals call a Level 1 inspection — a visual check of readily accessible components. Professional inspections go further: a Level 2 inspection adds a video camera scan of the interior flue, typically required after a chimney fire, before a real estate transaction, or when changing fuel types, and costs $200 to $600. A professional Level 1 inspection alone typically costs $100 to $300.
Running a DIY chimney inspection before your professional appointment isn’t wasted effort — it gives you specific points to raise with the inspector and helps you understand exactly what they’re checking and why, turning the professional visit into a more informed conversation rather than a passive one.
Run a DIY chimney inspection at least once before each heating season, ideally in early fall before you light the first fire. A second check partway through winter is worth doing if you use the fireplace heavily, since creosote buildup signs can develop faster than expected during a season of regular use. Pair this DIY schedule with a professional inspection at least annually — the NFPA recommends yearly inspection for every chimney regardless of use frequency.
The Quick Guys provides professional chimney inspection and sweeping throughout the Bronx and Westchester County, going beyond what any DIY chimney inspection can safely cover — including roofline access, flashing assessment, and camera-based flue inspection when needed. If your DIY check turned up creosote buildup signs or other concerns, see our guide on how often should you sweep your chimney for the recommended schedule based on your specific usage.
We hold New York State license WC-38593-H25 and carry full general liability insurance. We serve Riverdale, Mott Haven, Pelham Bay, Fordham, Yonkers, White Plains, Scarsdale, and surrounding areas. Call (929) 257-9396 for a free estimate.
DIY chimney inspection is one of the few home maintenance tasks that costs nothing but a few minutes and genuinely prevents expensive problems. Most repairs we quote could have been caught a year earlier by the homeowner, for free, with nothing more than a flashlight and the willingness to look. You don’t need professional equipment to notice a missing chimney cap or a crumbling mortar joint — you just need to know what you’re looking at.
A DIY chimney inspection is a checkup, not a substitute for the professional inspection your chimney needs at least annually. Use it to catch obvious problems early and to walk into your professional appointment already knowing what to ask about.
Contact The Quick Guys directly:
Phone: (929) 257-9396 — call or text, available 7 days
Email: info@thequickguys.com
Website: thequickguys.com
Service area: Westchester County, the Bronx, Yonkers, White Plains, Scarsdale, and surrounding areas
For chimney sweep frequency guidance, see our guide on how often should you sweep your chimney. For flashing-specific concerns, read how to repair roof leaks around chimney. Call (929) 257-9396 for a free estimate.
Yes, a basic DIY chimney inspection is safe and useful for catching visible warning signs, as long as it’s done from the ground or inside the house — never climb on the roof. It should be treated as a checkup, not a replacement for annual professional inspection.
Check the chimney cap and crown from the ground, inspect brick and mortar for cracks or shifting, open the damper and shine a flashlight up the flue, test the draft with incense or a match, and check ceilings and walls near the chimney for water stains.
A black, tar-like coating visible with a flashlight up the flue, especially if thicker than 1/8 inch or appearing shiny and glazed. A strong musty or barbecue-like smell, particularly in summer, is another key creosote buildup sign.
Crumbling mortar or shifted bricks, a missing or damaged cap or crown, smoke drifting into the room during a draft test, and any water stains near the chimney all warrant scheduling a professional inspection.
Call a professional for extensive structural damage, thick or hardened creosote, significant leaks, any flue liner concerns you can’t clearly assess, and anything requiring roofline or flashing access.
A DIY inspection is roughly equivalent to a professional Level 1 visual inspection but without the trained expertise. Professional Level 2 inspections add video camera scanning of the interior flue and cost $200-$600, versus $100-$300 for Level 1.
Run a DIY check at least once before each heating season, ideally in early fall, with a second check mid-winter for heavy fireplace users. This should be paired with at least one professional inspection annually.