
Water loves to hide its starting point. That brown mark on your ceiling? Almost never lines up with the real entry spot outside. It sneaks in through a small gap somewhere above. Then it follows the tilt of the roof, sliding downward. Along the way, it rides the wood frame, moving sideways more than you’d think. Eventually it lets go, landing far from where it first got inside.
Locating the precise origin takes time along
with careful attention to detail.
Following this thorough roof evaluation
guide reveals how experts methodically
uncover persistent water entry points
others might overlook.
Look closely at your ceilings and upper walls for these telling signs:
Water rings: Bulging stains that look like puddles with dark brown or yellowish edges.
Bubbling drywall: Wall paint or wallpaper that is blistering, peeling, or pulling away.
Musty odors: A persistent earthy, moldy smell in specific rooms or the attic space.
To help you find the leak on the exterior, use a tape measure to locate the interior stain relative to fixed points, such as an exterior wall, a chimney, or a window. Write these dimensions down so you can replicate them when you climb up onto the roof deck.

If your home has an accessible attic, this is usually where the mystery is solved. The underside of your roof structure tells the true story.
Go up during a rainstorm: It is easiest to find a leak while water is actively dripping.
Use a powerful flashlight: Turn off the main attic lights. A strong flashlight beam rolled across the wood framing will catch the reflection of water much better than ambient light.
Follow the rafters upward: Head to the general area above your interior ceiling stain. Look for black water stains, white mold, or wood rot along the rafters.
Check for “Shiners”: A shiner is a nail that missed the framing member during construction. In cold weather, moisture condenses on these cold nails, turning into frost. When the attic warms up, the frost melts, creating a fake roof leak.
If the weather is clear but you need to find the source immediately, you can simulate a heavy rainstorm using your garden hose. This method requires two people and clear communication via mobile phones.
Isolate the lower zones first: Person 2 climbs onto the roof with the hose. Start spraying at the lowest point of the roof slope, right above the gutters.
Soak one spot at a time: Do not just wave the hose around. Soak a single 3×3 foot section for at least 5 to 10 minutes.
Wait for the signal: Person 1 stays inside the attic, watching the underside of the roof deck.
Move upward slowly: If no moisture appears after 10 minutes, move the hose slightly higher up the roof slope. Repeat this zone-by-zone process until water breaks through.
| Interior Symptom | Probable Exterior Cause | Recommended Action |
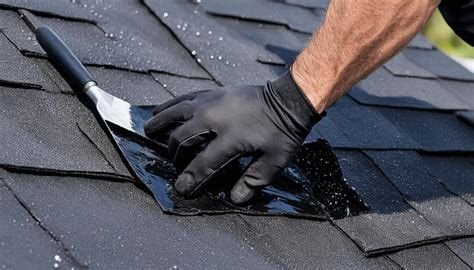
| Ceiling water stain surrounding a chimney | Cracked mortar or failed metal flashing. | Perform a roof flashing repair using roofing cement. |
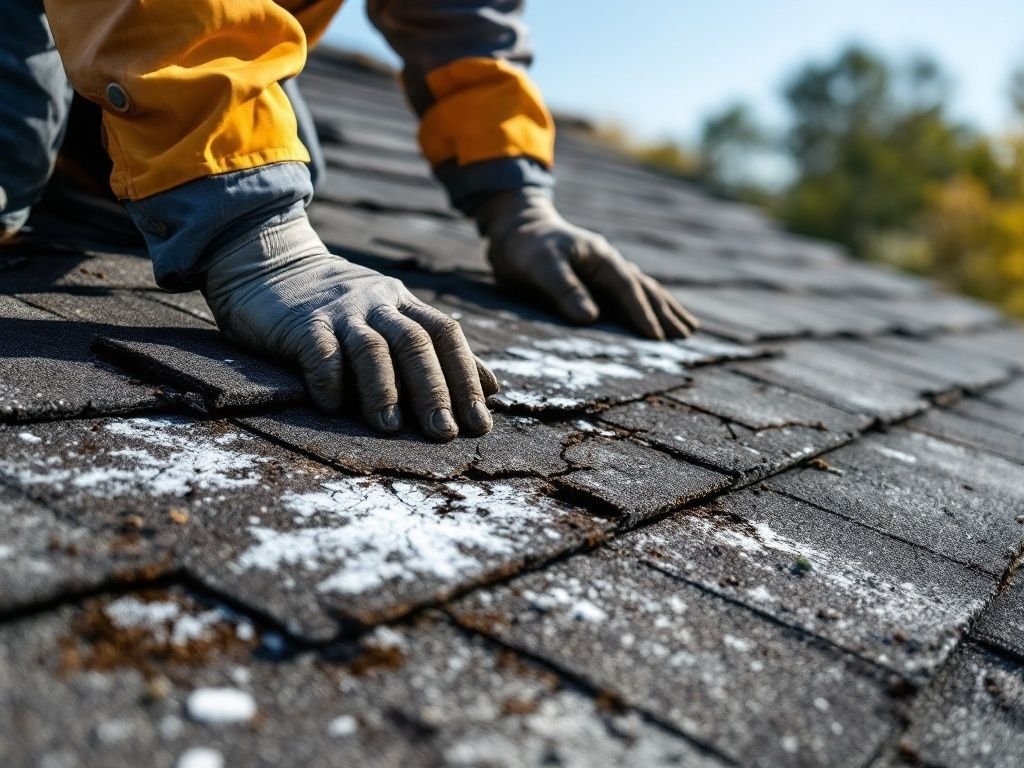
| Random drip in the center of a room | Broken, cracked, or missing shingle. | Complete a minor roof shingle replacement. |
| Water dripping down exterior siding | Clogged, overflowing gutters forcing water backward. | Clean gutters entirely; install gutter guards. |
| Drips directly beneath a vent pipe | Cracked or rotted rubber boot collar. | Buy a kit for plumbing vent boot replacement. |
1. Emergency roof tarping deployed
When a powerful storm approaches without time for lasting fixes, shielding your house becomes necessary. A sturdy tarp bought beforehand helps cover broken spots fully. Lay it out wide enough that its upper edge goes past the roof’s highest line. Heavy sandbags or lengths of lumber can hold things down until proper work begins.
2. DIY vs. Hiring a Professional
Start by tackling the repair alone when only one shingle is gone. A lone piece of flashing come undone? That counts too. Consider it manageable should the problem show up as a split in the roof’s rubber boot. Basic tools in hand, most people finish such work by day’s end. Afternoon light still lingers on jobs like these.
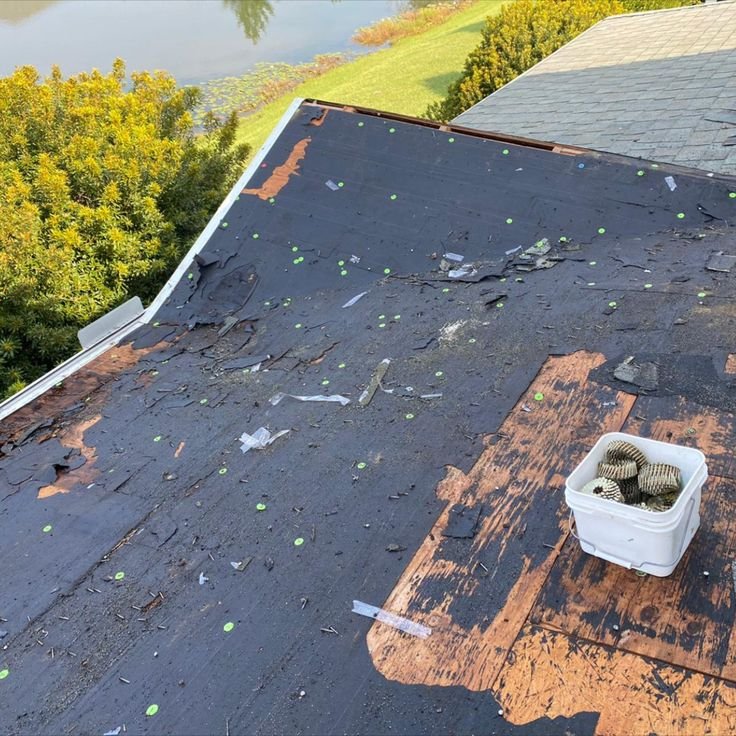
When wood rot shows up across multiple rafters, it might be time to get help. Roof areas that dip or droop suggest deeper problems needing attention. Age alone – over two decades of service – can signal a need for expert eyes. Structural concerns like these often go beyond DIY fixes. A specialist could offer clarity when damage seems extensive. Older roofs tend to hide issues until they worsen. Signs like persistent dampness or warped framing matter just as much. Expert assessment makes sense under such conditions.
When damage covers large areas, picking someone certified and covered by insurance makes sense. Because they know what to do, leaks stay out and houses hold their worth over time. Though seasons change, sticking to upkeep tasks throughout the year helps avoid bigger problems later.
Most times, spotting a roof leak seems impossible – like searching for one tiny thing in a giant pile. Yet catching it fast turns out to be the smartest move for saving both house and money. Think about how quietly harm builds when water sneaks in unseen. Once you notice that dark spot on the ceiling, odds are the drip started long ago – weeks, maybe months back.
Twice yearly, aim for spring and fall, go over this roof check list. After harsh storms, do it again without delay. Spotting trouble early means fixing small issues before they grow. Swap out broken parts fast, that helps a lot. When things look serious, get a reliable roofer nearby on the phone. Staying ahead of wear keeps your house safe from leaks. Solid upkeep? That’s how roofs last long. Years pass, yet the structure stays strong.
Found that sneaky drip hiding somewhere in your house? What turned out to be behind it? Share the story down there.